Not everything fits into a single appointment. Projects group related work together — a renovation, a client onboarding, a multi-visit job, a consulting retainer — so your team can plan it, split it into tasks, track progress, and bill for it from one place. If most of your work is done in a single sitting, you may not need projects at all; they earn their keep on longer engagements that span days or weeks and involve several people.
How projects and tasks fit together
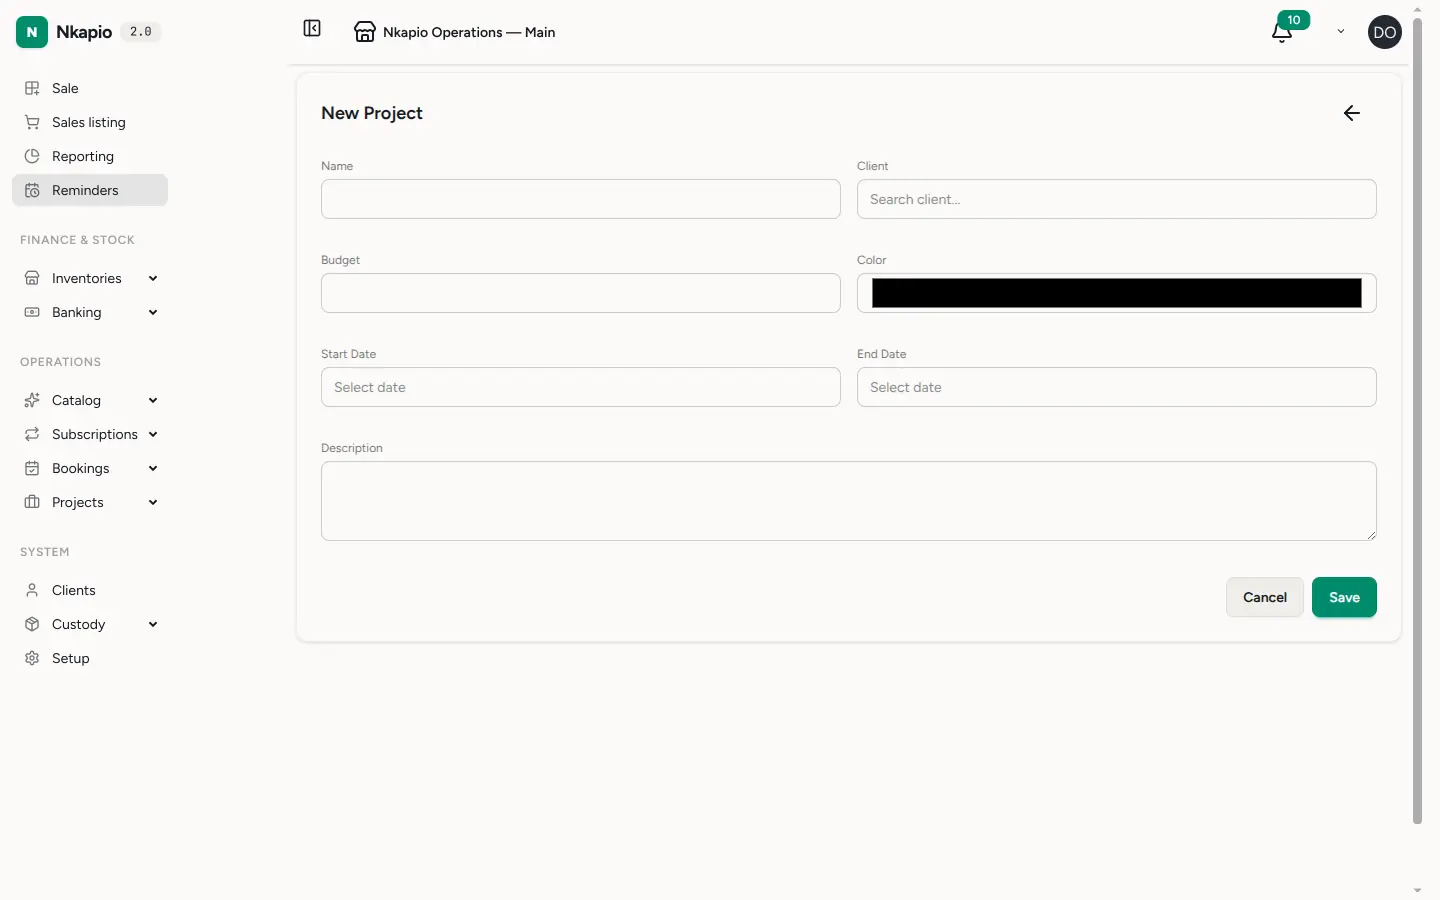
A project carries the big picture: a name, an optional client, a start and end date, a budget, and a colour to recognise it at a glance. Underneath it sit tasks — the individual pieces of work. Each task has an assignee, a priority (low, medium, high or urgent), a status (to do, in progress, in review, done), and optional start and due dates and estimated hours. Tasks can depend on one another, carry comments, and record time as your team works.
People are added to a project as members, and tasks are assigned to those members — so before you can assign work, add the team to the project. On top of tasks, a project can hold expenses and a billing plan, which is what turns a project into something you can invoice.
Step 1 — Open Projects
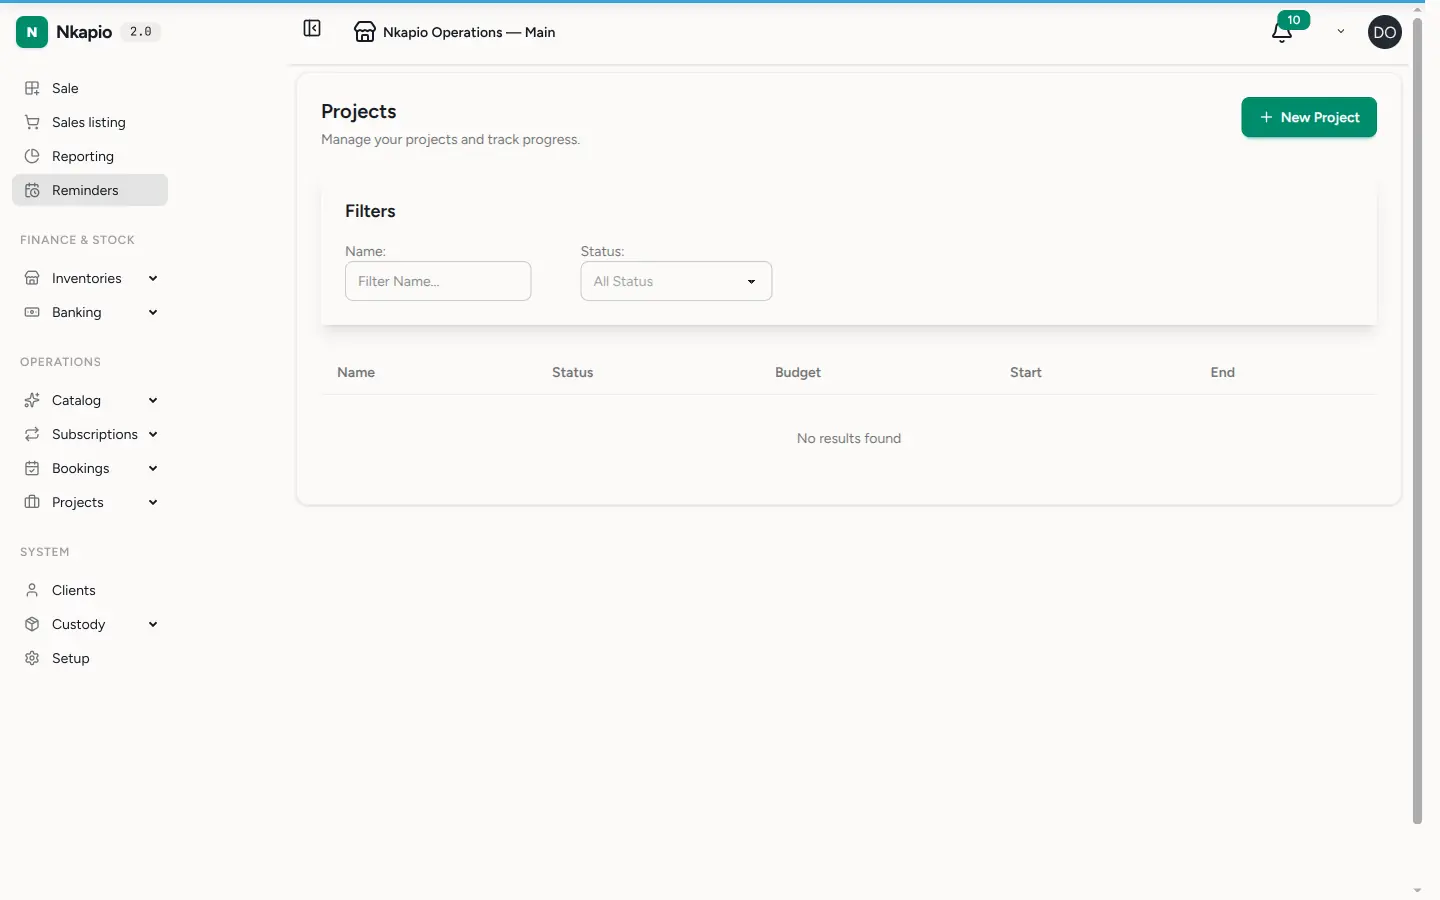
In the sidebar, expand Operations and open Projects. The list shows every project with its status and completion progress, so you can see at a glance what is planning, active, on hold, or completed.
Step 2 — Create a project and add tasks
Click New Project, name it, and link it to a client if the work is for one. Set the budget and the start and end dates if you know them. Add the team as members, then create tasks underneath the project — each with an assignee, a priority, and a due date. As tasks move from to do through in progress and in review to done, the project's progress bar fills in automatically.
Billing a project
Open the Billing tab on a project to set up how it earns. Nkapio supports three billing models:
- Fixed price — the total is split into milestones (a name, an amount, a due date). As each milestone is reached you invoice it, and the milestone moves from pending to reached, invoiced, and finally paid.
- Time & materials — you invoice the unbilled hours your team logs against tasks.
- Retainer — a recurring amount billed weekly, monthly, or quarterly; Nkapio generates each period's invoice automatically.
Project invoices, expenses, and payments received all feed the project's budget-burn and margin figures shown on the Overview tab.
Step 3 — Track progress in the report
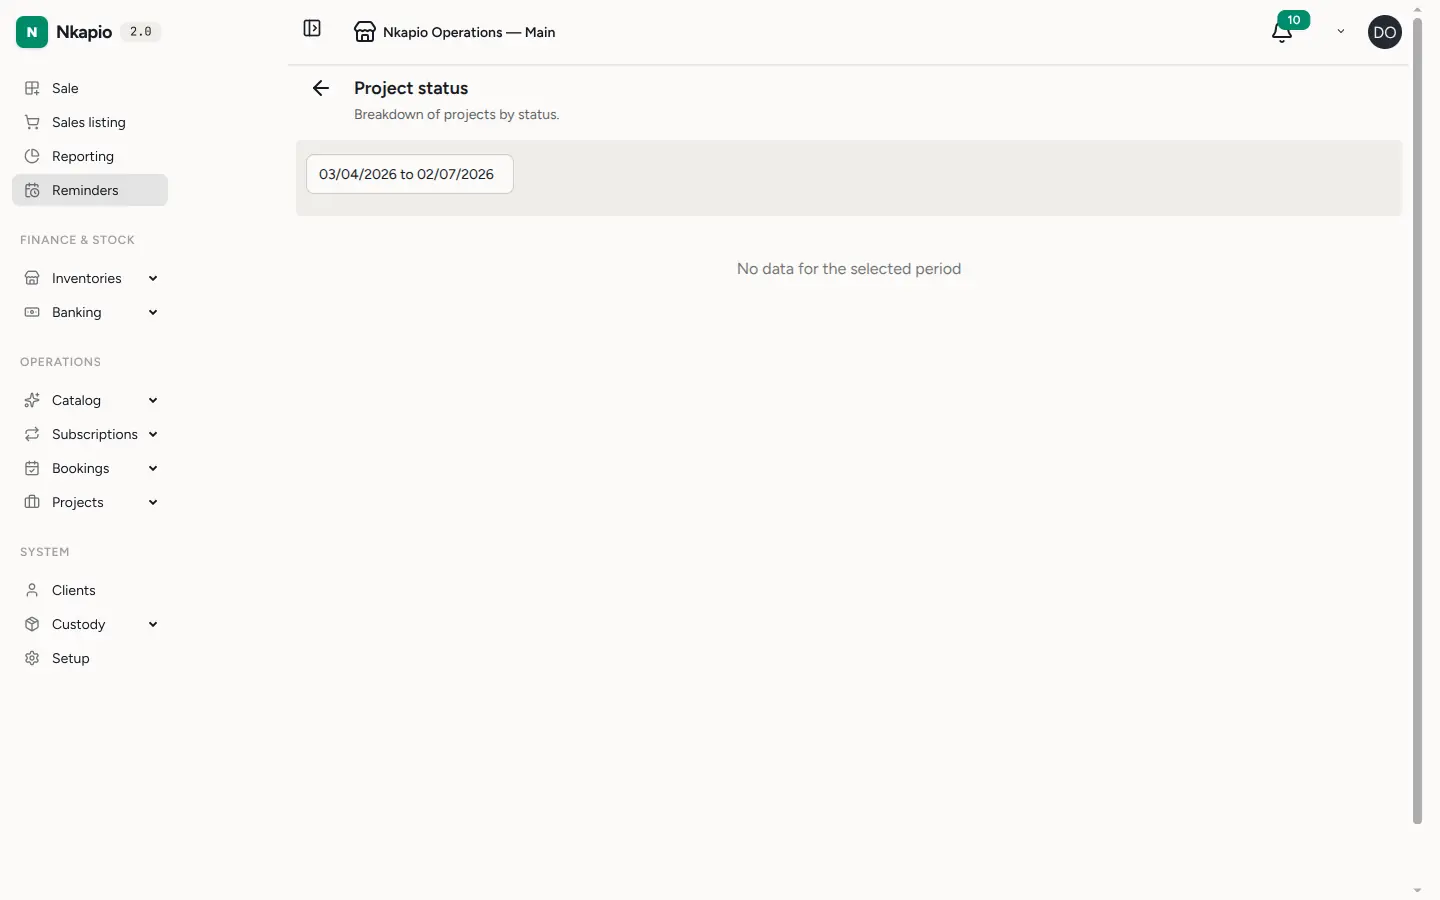
Open the projects report to see overdue tasks, workload per staff member, and overall project completion across your business.
Status and health, kept up to date automatically
You rarely have to move a project's status by hand. Nkapio watches each project and:
- Advances it from planning to active the moment work begins — a task starts, time is logged, or the start date arrives.
- Flags it as ready to complete once every task is closed, every invoice is settled, and billing is finished — but leaves the final completed click to you.
- Notifies you when a project goes over budget or runs overdue, so nothing drifts quietly.
Closing, holding, and cancelling a project stay manual on purpose — your intent always wins over the automation.
Before you start
- Feature and permission — Projects is a module that must be turned on for your business, and your role needs permission to manage projects. If you don't see Projects under Operations, ask an owner or manager to enable it and grant access.
- Add members before assigning — a task can only be assigned to someone who is a member of that project.
- Link a client for client work so project invoices and history stay tied to the right customer.
Tips
- Give each project a distinct colour so it's easy to spot across lists and the calendar.
- Set a realistic end date and budget from the start — they are what the overdue and over-budget alerts measure against.
- Break large tasks into smaller ones; progress and workload reports are only as useful as your tasks are granular.
Frequently asked questions
Do I have to set a budget? No. Without a budget there is simply no budget-burn or over-budget alert — everything else still works.
Why is my project still "planning"? It advances to active automatically once a task starts, time is logged, or the start date is reached. Until then it stays in planning.
Why won't a project mark itself complete? By design. Nkapio flags a project as ready to complete, but you make the final call — check that all tasks and invoices are truly settled, then complete it yourself.