Nkapio can run more than one location from a single account, and it gives you two separate tools for organising a growing business — stores and brands. They solve different problems, so it helps to know which is which before you set them up.
- A store is a physical place you operate from — a branch, an outlet, a clinic, a workshop. Each store keeps its own address, opening hours, staff and account, so a two-branch business can see each branch on its own.
- A brand is a label you attach to the products in your catalog — usually a maker or supplier, such as AutoParts CMR or Pro Medical Co. Brands group products; they do not group stores.
This guide covers both: stores are the multi-location tool, and brands are a catalog-organisation tool.
Step 1 — Open Stores
Open Stores (also shown as Stores & Locations) from the sidebar. The list shows every location you operate, each with its address, today's opening hours and the staff assigned to it. If you haven't added one yet, Nkapio prompts you to add your first store or branch.
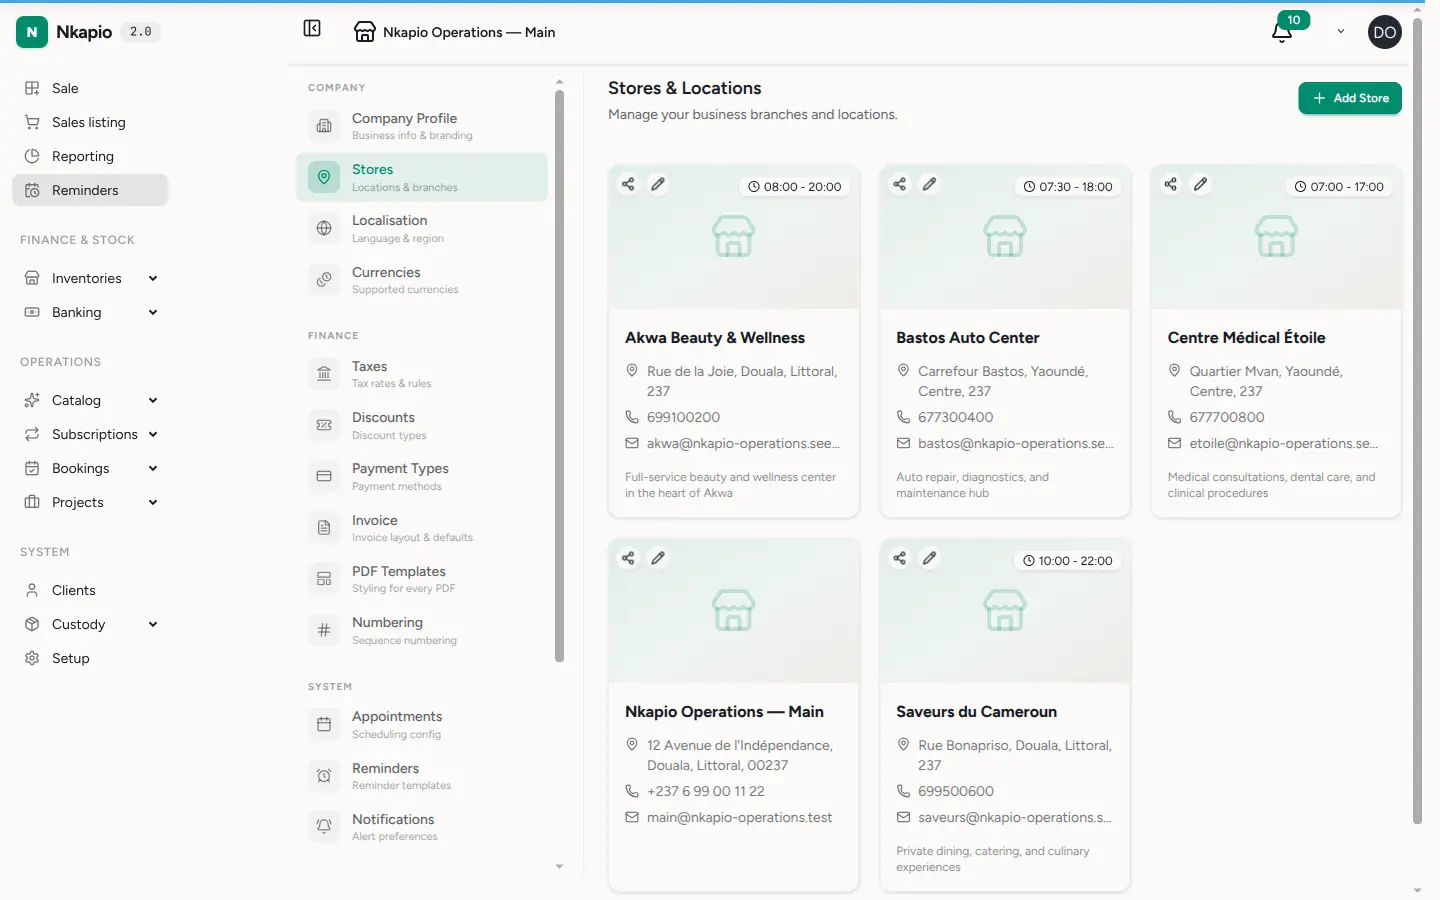
A store record holds more than an address. For each location you can set:
- Contact details — name, email and phone.
- Address and map position — street, city, state/region, postal code and optional latitude/longitude so the location can be pinned on a map.
- Opening hours — the days and times each branch trades, set day by day.
- Photos — a cover image and a small gallery for the location.
- Time zone — defaults to Africa/Douala.
Each store also has its own account, so its takings and balances are tracked per branch rather than pooled into one, and you can share a store's public booking link straight from the list — by WhatsApp or email — so clients can book that specific location.
How staff and data are scoped to a store
Every team member is assigned to one or more stores when you add or edit them (see Add staff and schedules). The active store is shown at the top of the screen — for example Nkapio Operations — Main — and Nkapio scopes what you see to it: the team list, for instance, shows only the employees assigned to the current branch. If you work across several locations, switch the active store from the top bar to move your view from one branch to another.
Step 2 — Open Brands
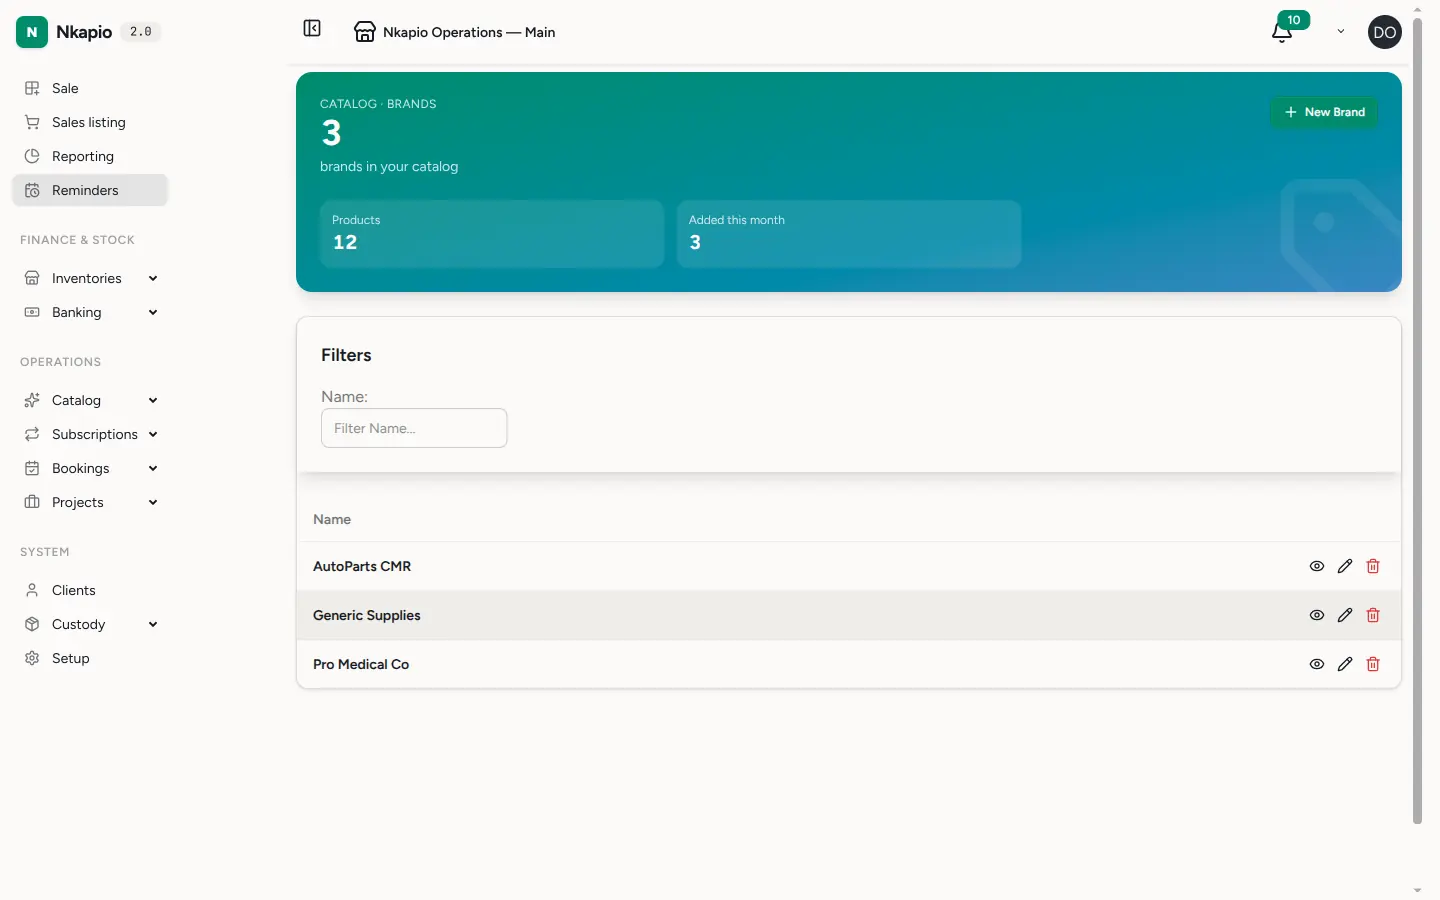
Brands live with your Catalog. Open Brands to see every brand you use, along with how many products each one covers. A brand here is simply a name — a way to tag products by their maker or supplier — so you can filter and report on what you sell by brand.
Step 3 — Create a new brand
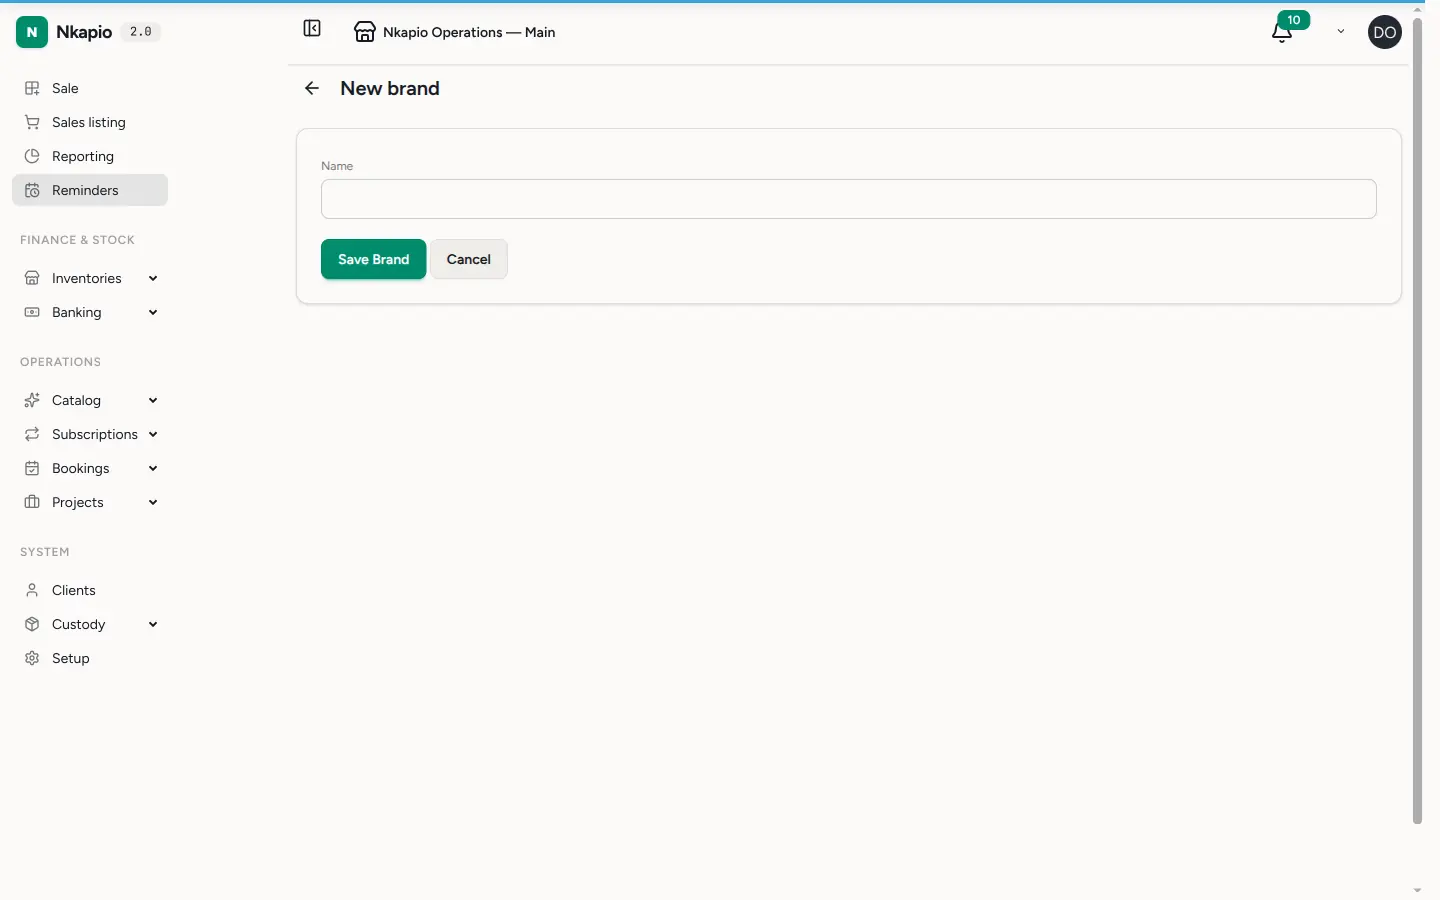
Click New Brand, type the brand's name, and click Save Brand. That is all a brand needs. Once it exists you can assign products to it from the product form, and it will appear in your catalog filters and reports.
Before you start
- Plan limit. The number of stores you can create is capped by your plan's branch allowance — some plans include a single branch, while higher plans allow more. If the Add button is disabled, or you are blocked when saving, you have reached your plan's branch cap. See your Nkapio plan and billing to review it.
- Permission. You need permission to create, edit or delete stores; team members without it will not see those buttons.
- One workspace, many stores. All your stores live inside the same Nkapio account and share your catalog, clients and settings. It is the day-to-day figures — takings, staff and bookings — that are kept per store.
Tips
- Set accurate opening hours for each branch so its schedule reflects reality.
- Add a cover image so each location has its own look.
- Use brands to keep a large product list tidy and to compare what you sell by maker or supplier.
- Set your address and map coordinates carefully — see Business settings for the company-wide details that apply across every store.
FAQ
Do brands group my stores? No. Brands group products in your catalog. To manage separate locations, use Stores.
Can two branches keep separate takings? Yes — each store has its own account, so takings and balances are tracked per branch.
Why can't I add another store? You have most likely reached your plan's branch limit. Check your plan and billing.
Where do I assign a staff member to a branch? On the team member's own record — see Add staff and schedules.